Shopping Cart
There are no more items in your cart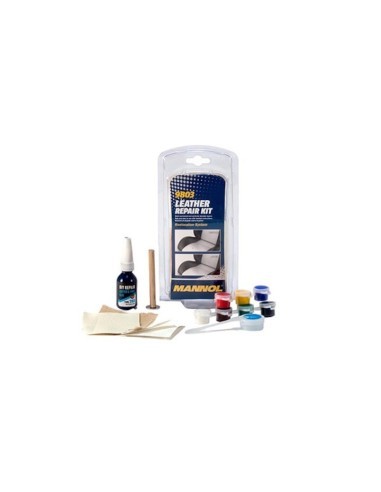
Out-of-Stock
Car Interior Cleaning Solutions



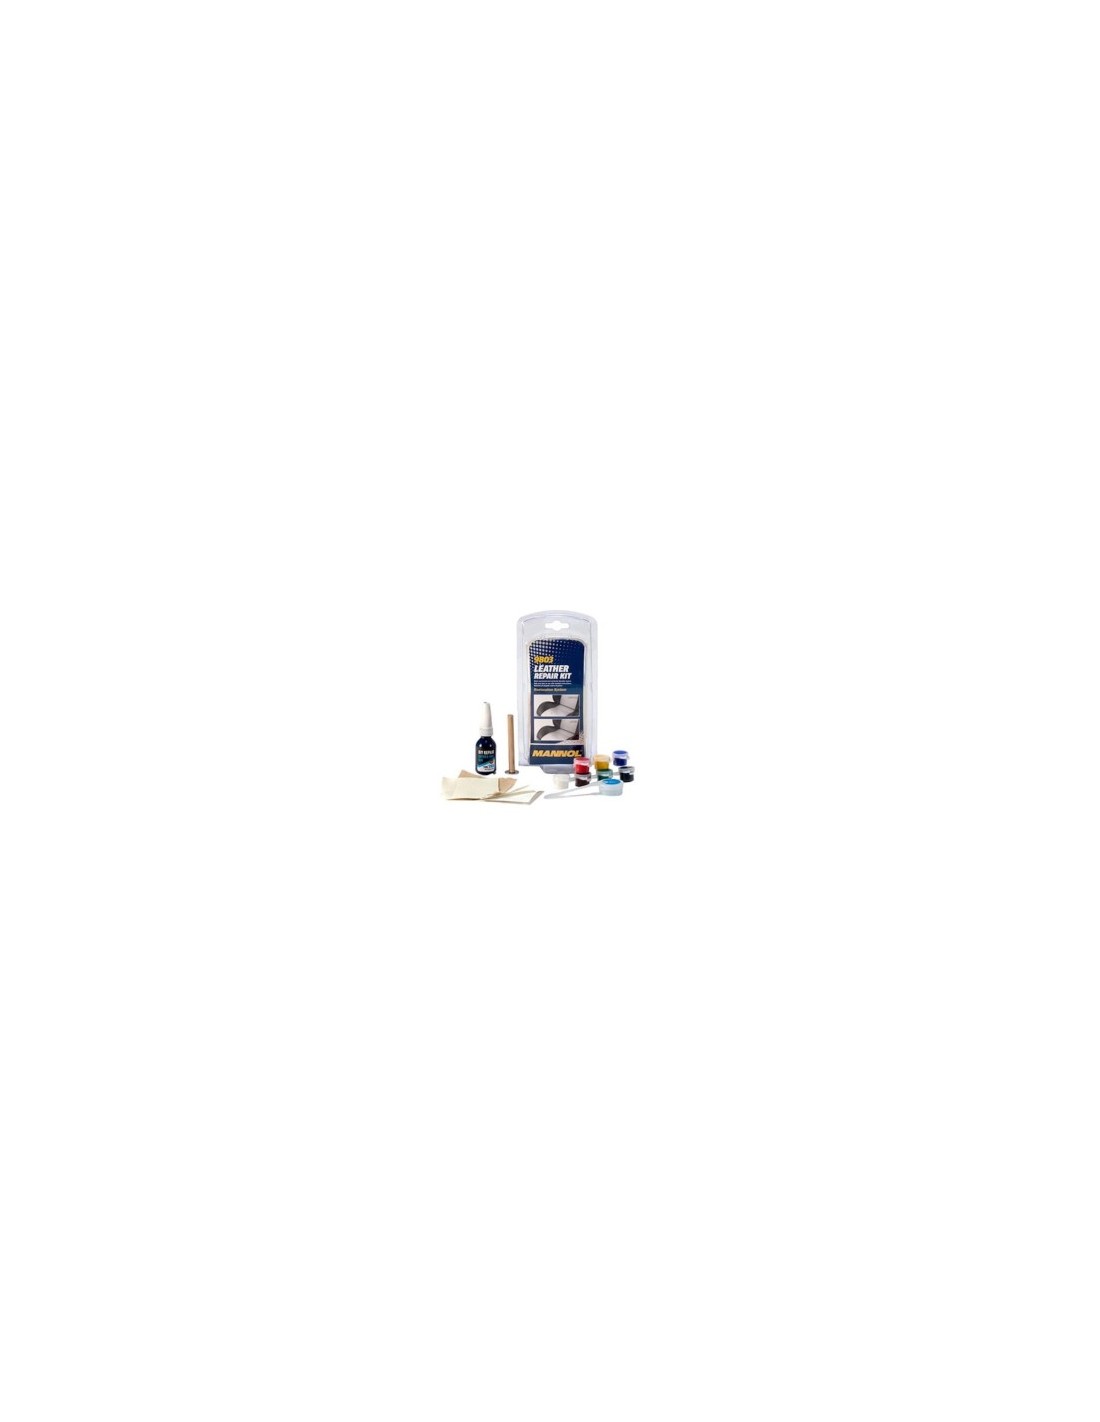
MANNOL Auto Leather Surface Repair Restoration Kit
Easy to use, for restoring natural and artificial leather or vinyl surfaces. It can be used for repairing upholstery and interior panels of cars, as well as in everyday life for repairing furniture, leather clothing, shoes, bags and suitcases, as well as seats of boats, motorcycles, and other vehicles, convertible roofs, etc.
Properties:
- Repairs any holes, cracks, cuts, burns on leather and vinyl surfaces, as well as dents on the latter;
- The kit includes heat-resistant repair compounds in seven colors, allowing you to achieve most shades by mixing colors. To obtain the desired shade, study the chart included in the kit;
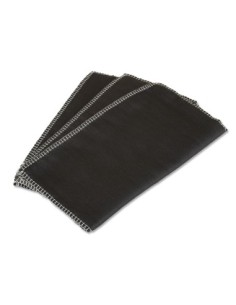
- The kit includes a set of three heat-resistant paper sheets with the most common leather and vinyl textures;
- The desired result is achieved without significant costs.
Instructions:
1. Prepare and clean the damaged area.
Clean the damaged area with a household vacuum cleaner. Before starting work, ensure that the area is dry. Carefully cut away worn spots and excess threads, as well as charred edges, with scissors or a knife. When burning, remove all charred materials until you obtain smooth edges of the material.
2. Insert the fabric backing under the damaged area. Use a spatula to push the fabric backing under the hole from step 1. To repair larger holes over 6 mm, cut the fabric backing to a size slightly larger than the resulting hole. Use a spatula to smooth the material backing. Glue the fabric from the inside with vinyl adhesive. Dry with a hairdryer.
3. Choose a heat-resistant paper with a texture that best matches the texture of the damaged surface. On the back of the selected heat-resistant paper sheet, draw the outline of the damaged area. This will allow you to correctly position the heat transfer tool in step 8.
4. For deep damage, such as on a vinyl dashboard, use clear vinyl adhesive with filler and a spatula to level the damaged area to the original surface level. The adhesive will slightly shrink as it dries, leaving a gap that will later be filled with a colored repair compound.
5. Consult the color selection chart to create the necessary shade. Mix this set in the required amount in the mixing container to achieve the desired shade. Check if the shade matches by rubbing a small amount of the mixture on an undamaged surface, then remove it with a cloth.
6. Apply the repair mixture. Once the vinyl adhesive is dry, use a spatula to apply the mixture evenly and lightly to the damaged area. Wipe away any excess around the hole or damage. Do not cover the damaged area.
7. Place heat-resistant textured paper over the repair area. Glue it above the repair mixture, ensuring that the marked outline is directly above the damaged area. Do not move it. If the repair occurs on a vertical surface, secure the paper with tape above.
8. Heat treatment. This is a very important step in the repair process. Turn on the iron and let it heat up to a high temperature for at least four minutes. Place the tip of the heat transfer tool directly on the iron and let it heat for a few minutes from the iron. Then press the tool onto the heat-resistant paper, following the outline of the working surface and pressing gently in a circular motion for 20-30 seconds. Remove the heat-resistant paper from the repaired area.
The kit includes:
Heat-resistant repair compound - seven colors (black, blue, green, red, brown, white, and yellow) - 7 pcs.
Vinyl adhesive - 1 pc.
Fabric backing - 1 pc.
Set of heat-resistant papers with three different textures - 3 pcs.
Shade selection chart - 1 pc.
Spatula - 1 pc.
Mixing container - 1 pc.
Heat transfer tool - 1 pc.
You might also like